Connection Setup
- Create a MongoDB user and grant it minimum permissions required for Integrate.io ETL to read or write data from the database.
- Allow access from Integrate.io ETL’s IP addresses to MongoDB’s port (Refer to this article if you’d prefer to create a reverse SSH tunnel.)
To create a MongoDB connection in Integrate.io ETL
1
Click the Connections icon (lightning bolt) on the top left menu.
2
To create a connection, click New connection.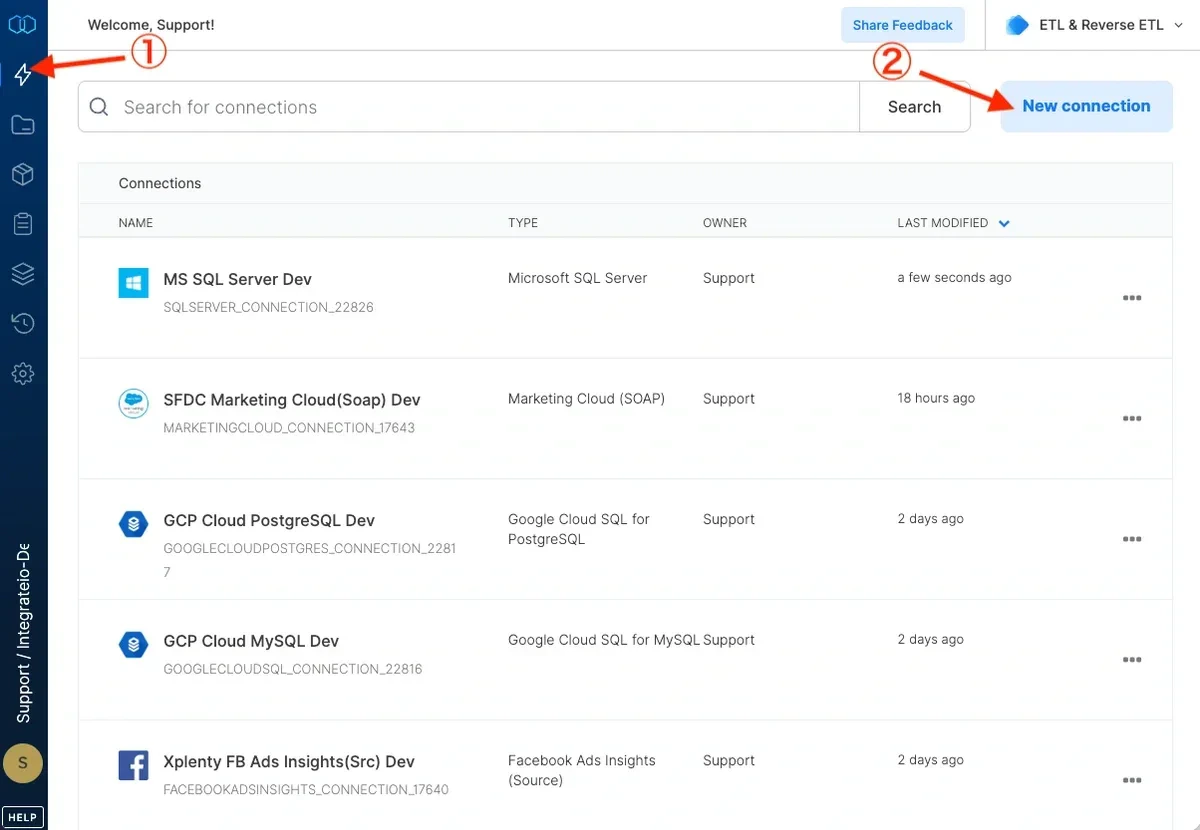
3
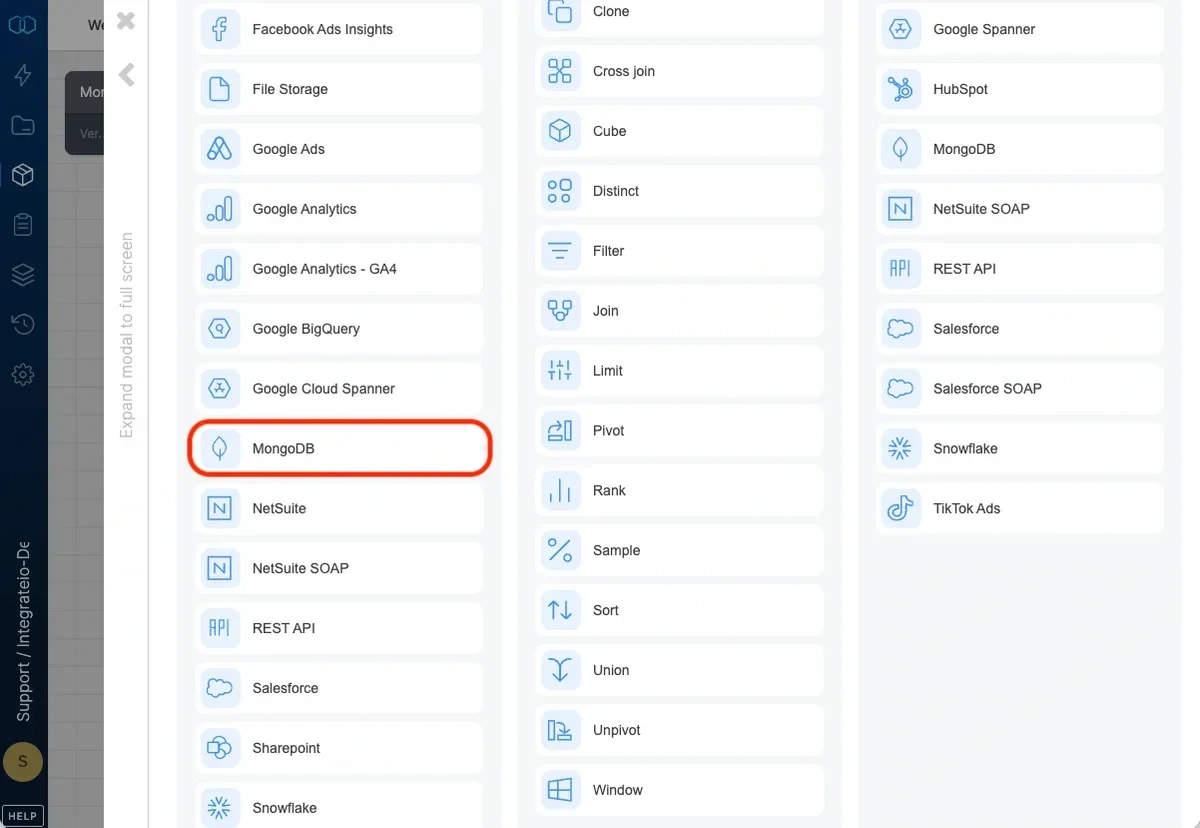
Select MongoDB.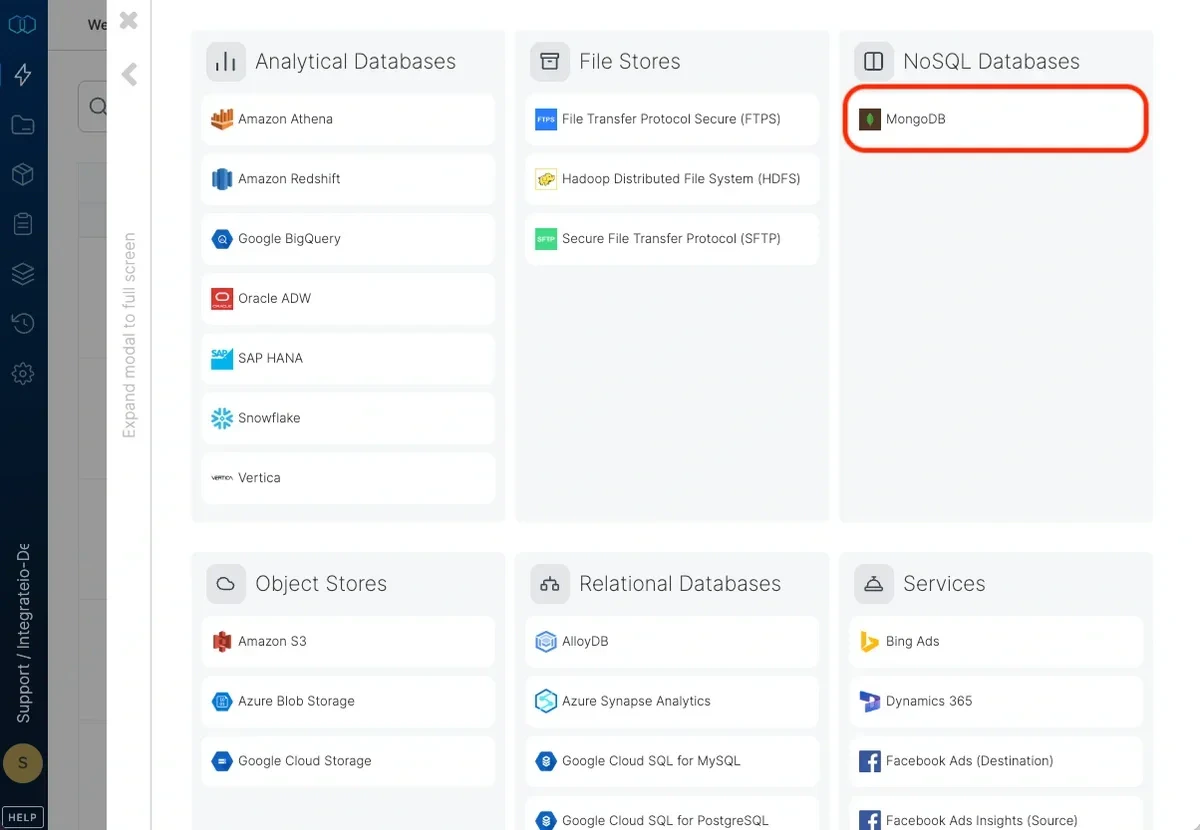
4
In the new Mongo DB connection window, name the connection and enter the connection information.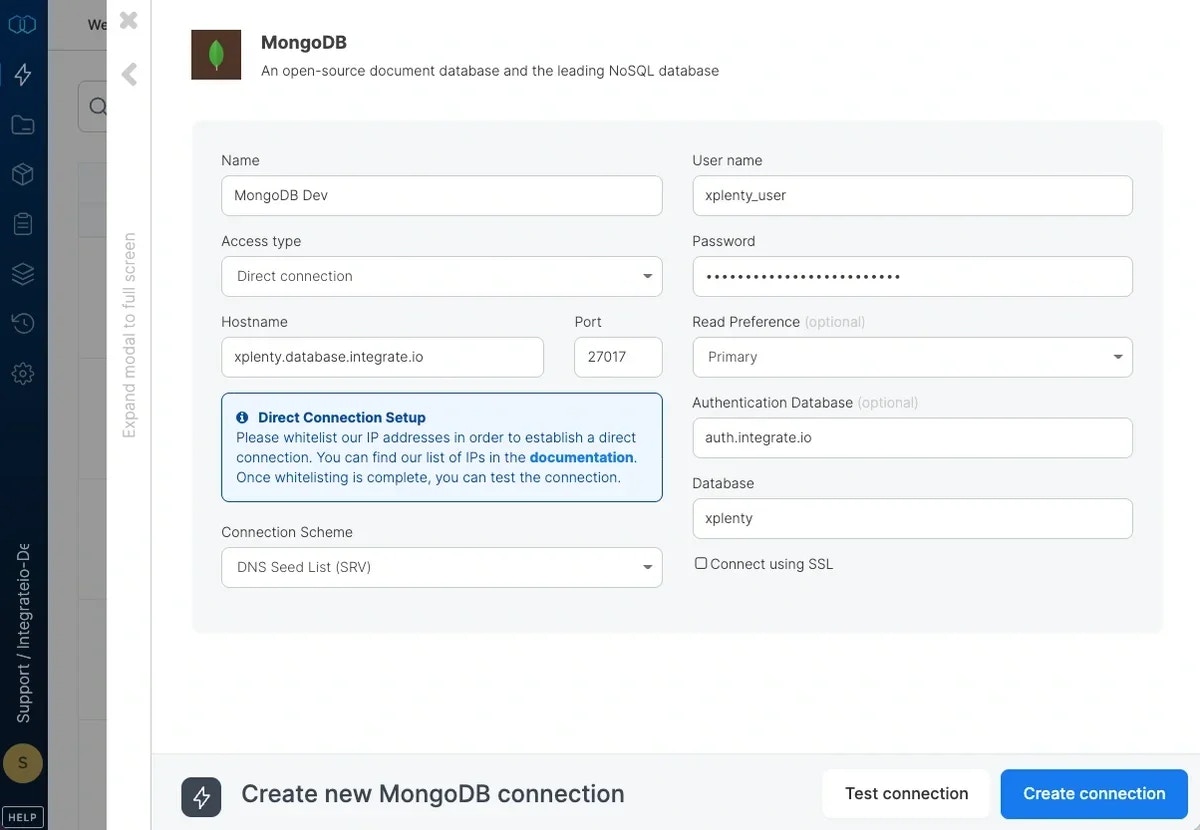
- Name - name for the new connection
- User name - database user name
- Password - database user’s password
- Hostname - name of the host to connect to
- Port - TCP port to connect to. Allow Integrate.io ETL access to this port on the specified host for connectivity
- Read Preference - Determines how the connection should route read operations to members of a replica set.
- Connection Scheme
- DNS Seed List (SRV) - Connects via the mongodb+srv:// syntax (Read more here)
- Replica Set Members - Connects via the mongodb:// syntax. Specify the replica set members hostname manually.
- Database - name of database to use
- Authentication Database - name of the database to use for authentication. Leave empty to use default database.
- Connect using SSL - Determines whether to connect to the database using SSL. SSL allows encryption of client/server communications for increased security. Always check SSL if connecting to Mongo Atlas.
5
You can test the MongoDB connection by clicking Test connection. Note that although the test may fail, a job may be able to use the connection because the cluster on which you execute the job may have access to the database, whereas the Integrate.io ETL web application may not.
To modify MongoDB connections in Integrate.io ETL
1
Click the Connections icon (lightning bolt) on the top left menu.
2
Click a connection to open and modify it. Make any necessary changes, then click Test connection, and Save changes. To exit the MongoDB connection window without changes, click Back to connections (grey tab on the left side) on the MongoDB connection window.
3
To delete a MongoDB connection, click the three vertical dots on the far right of the connection listing and select the Delete connection option.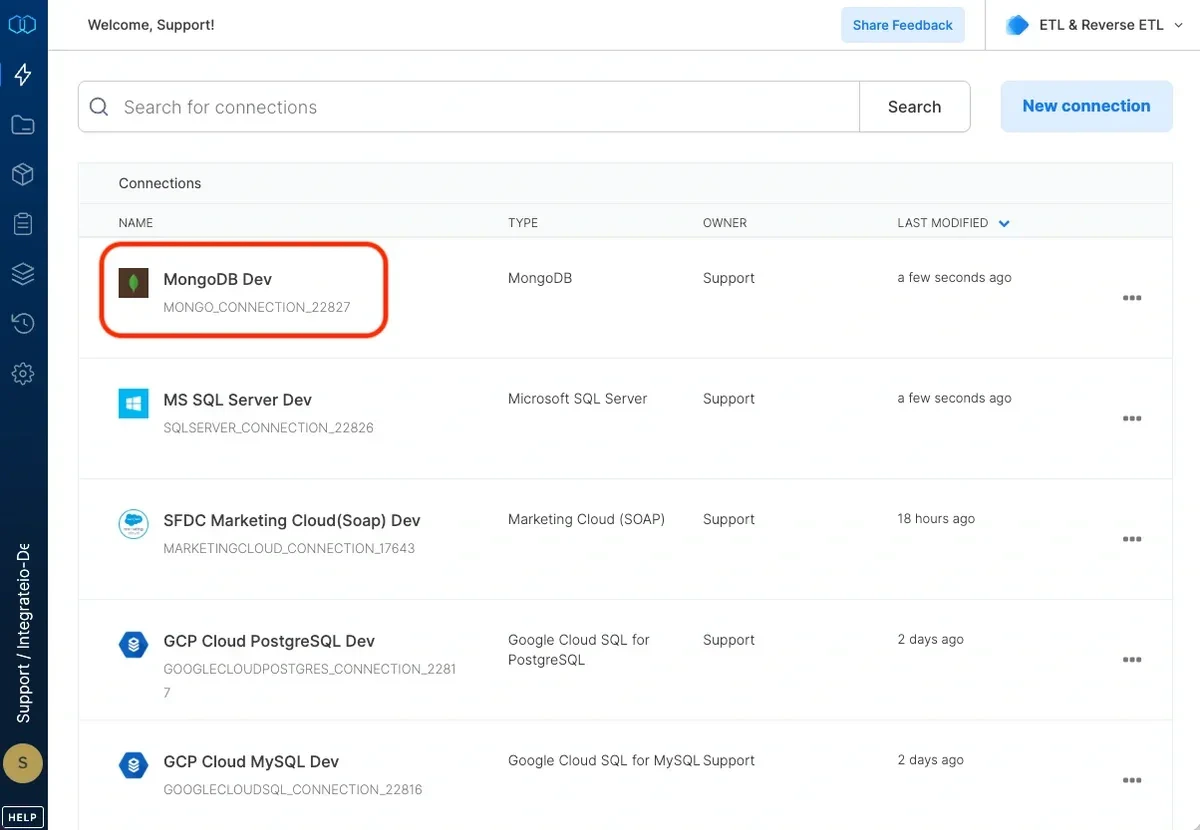
Note:For information on connecting to MongoDB Atlas, see here.
Connection
Select an existing MongoDB connection or create a new one (for more information, see Allowing Integrate.io ETL access to MongoDB.)Source Properties
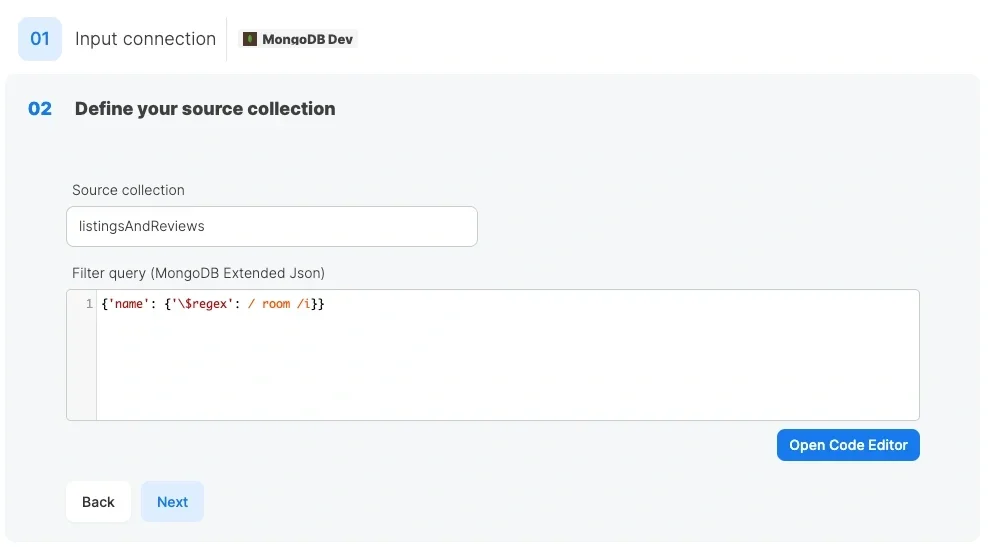
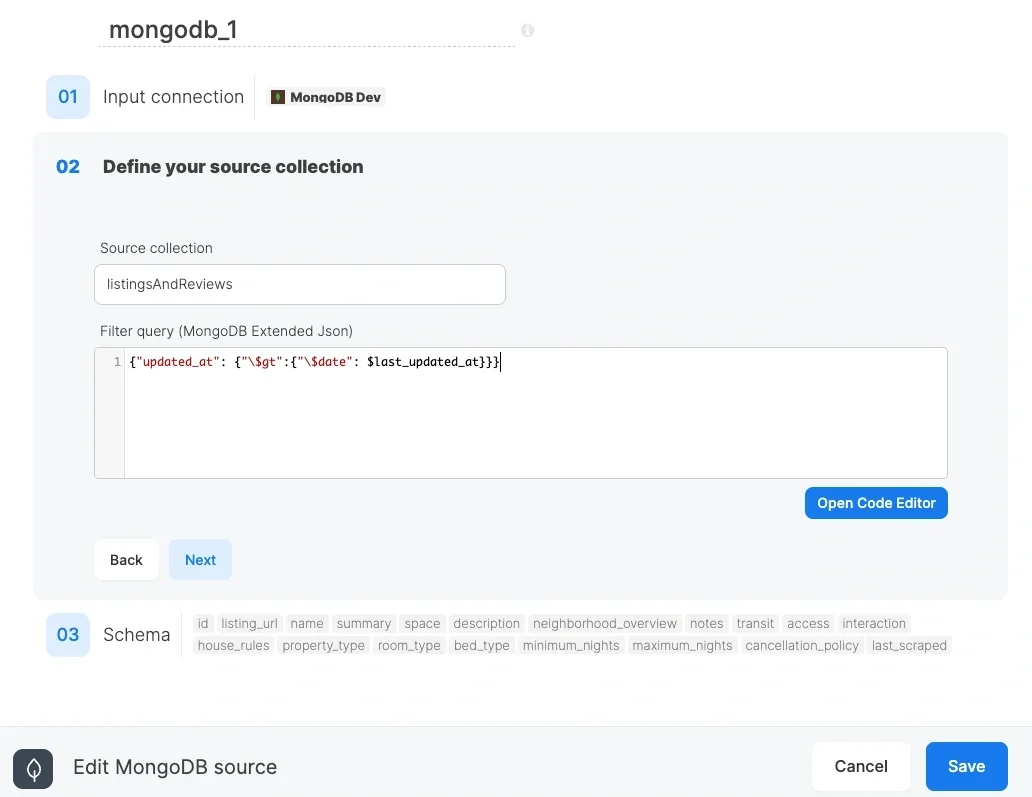
- Source collection - the collection name from which the data will be imported.
- Filter query - use MongoDB extended JSON to apply a filter on MongoDB’s server side, or leave empty to query the entire collection. Note that $ is a special character that denotes a variable, so it must be escaped by a single back-slash in your extended JSON filter. For example:
{"age":{"\$gt":24}}- extract all documents where age is greater than 24.{"\$or":[{"price":{"\$exists":false}},{"price":{"\$eq":0}}]}- extract all documents where price is zero or does not exist.{"timestamp":{"\$gt":{"\$date":"2014-01-01T00:00:00.000Z"}}}- extract all documents where timestamp is greater than the date value 2014-01-01T00:00:00.000Z
Source Schema
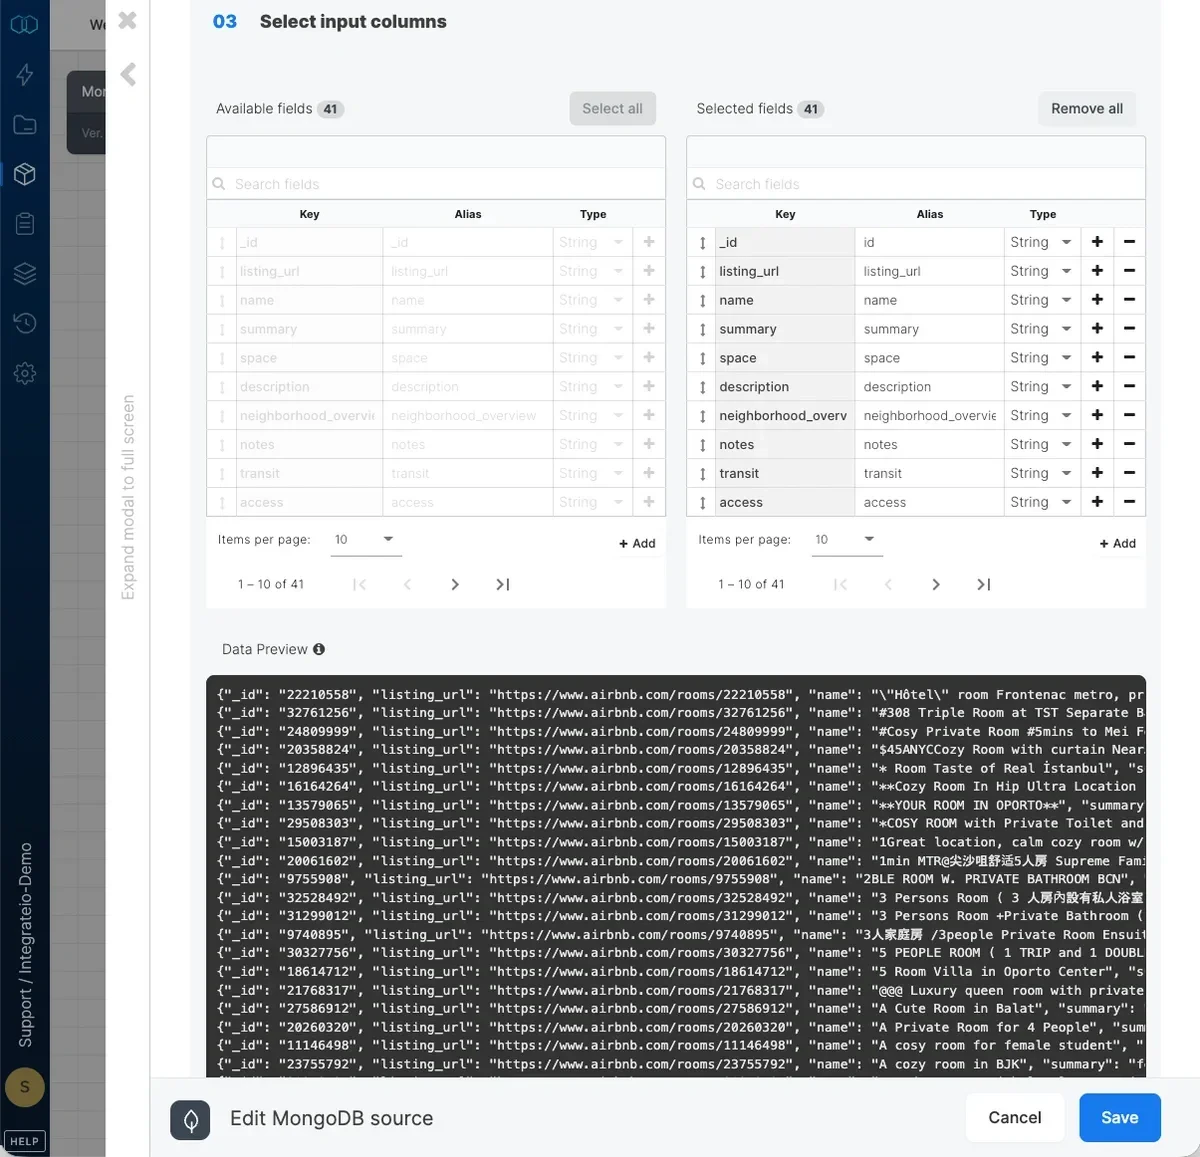
Reading data incrementally from MongoDB
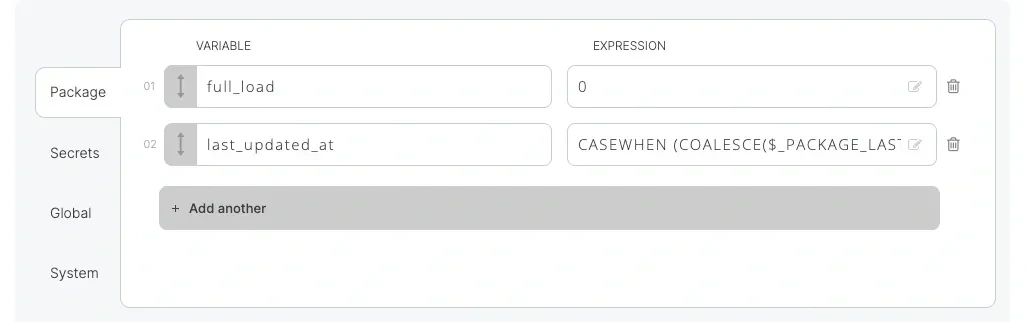
In order to read data incrementally (changes and additions) from a collection, we need a timestamp column that specifies when the data was updated (or inserted in collections where data is only inserted). In our example, this column is called “updated_at”. When reading from the source collection, we’ll use a filter query to only read the rows that were updated since the last time the package executed. We can use the following filter query, in which as is mentioned above):{"updated_at": {"\$gt":{"\$date": $last_updated_at}}}